🎙️ “To truly Eliminate Echo & Reverb Home Recording, a strategic approach to home recording acoustics is essential. You can fix echo in room issues and reduce reverb in home studio environments effectively through clever DIY acoustic treatment. Coupled with precise microphone placement recording techniques and smart post-production audio fixes, achieving professional-sounding audio at home is entirely within reach.”
1. Eliminate Echo & Reverb Home Recording
Echo and reverb are some of the most common challenges in home recording spaces. Unlike professional studios, most home environments are filled with hard surfaces—like walls, windows, and floors—that cause sound to bounce and linger. This creates unwanted reflections that can make your audio sound distant, messy, or unprofessional.
Even if you have a great microphone, an untreated space can ruin your recordings by adding echo, reverb, and background noise that distract your audience and lower the perceived quality of your content.
The good news? You don’t need a professional studio or expensive equipment to fix this. In this simple, step-by-step guide, you’ll learn how to eliminate echo and reverb at home using affordable, DIY solutions that anyone can apply—even if you’re on a tight budget.
2. Mastering Your Home Recording Acoustics
Achieving professional-quality sound in your personal space is entirely possible, even without a dedicated studio. The journey to superior home recording acoustics begins with understanding the distinct challenges of echo and reverb. To effectively fix echo in room environments and reduce reverb home studio setups often face, a multi-faceted approach is key.
Start by implementing strategic DIY acoustic treatment using readily available materials like heavy blankets, rugs, or homemade foam panels to absorb unwanted reflections. Complement this with precise microphone placement recording techniques, ensuring your mic captures your voice directly while minimizing room ambience. Finally, leverage post-production audio fixes with software tools like EQ, noise gates, and reverb removal plugins for that final polish, transforming your recordings from amateur to professional.
3. Understanding Echo and Reverb: What’s the Difference?

When recording at home, it’s important to understand the difference between echo and reverb, as both affect your audio quality in different ways.
Echo is a distinct repetition of sound that arrives clearly after the original sound, like a delayed “bounce” off a distant surface. It’s easy to notice because you hear the same sound repeated with a slight delay.
Reverb, on the other hand, is a series of many reflections that blend together and create a lingering “tail” of sound. Instead of clear repeats, reverb causes a wash of sound that makes voices or instruments seem distant or “muddy.”
Both echo and reverb can negatively impact voice clarity and overall sound quality, making it harder for listeners to understand speech or enjoy your recordings. Excessive echo or reverb can make your audio sound unprofessional, even if you’re using a high-quality microphone.
4. Step 1: Identify Problem Areas in Your Room
Before you can fix echo and reverb, you need to know where the problem areas are in your recording space. A simple and effective way to do this is by performing a basic clap test:
Stand in your usual recording spot.
Clap your hands loudly once or twice.
Listen carefully for any delayed sound or “echo” bouncing back.
If you hear distinct repeats or a lingering sound, it means reflections are present and need to be addressed.
Common spots where sound reflections occur include:
Bare walls: Hard, flat surfaces reflect sound waves strongly.
Ceilings: Especially if they are high or flat.
Windows: Glass reflects sound and lets outside noise in.
Hard floors: Wood, tile, or laminate floors can cause unwanted reflections.
Identifying these areas will help you target your acoustic treatment efforts for the best results.
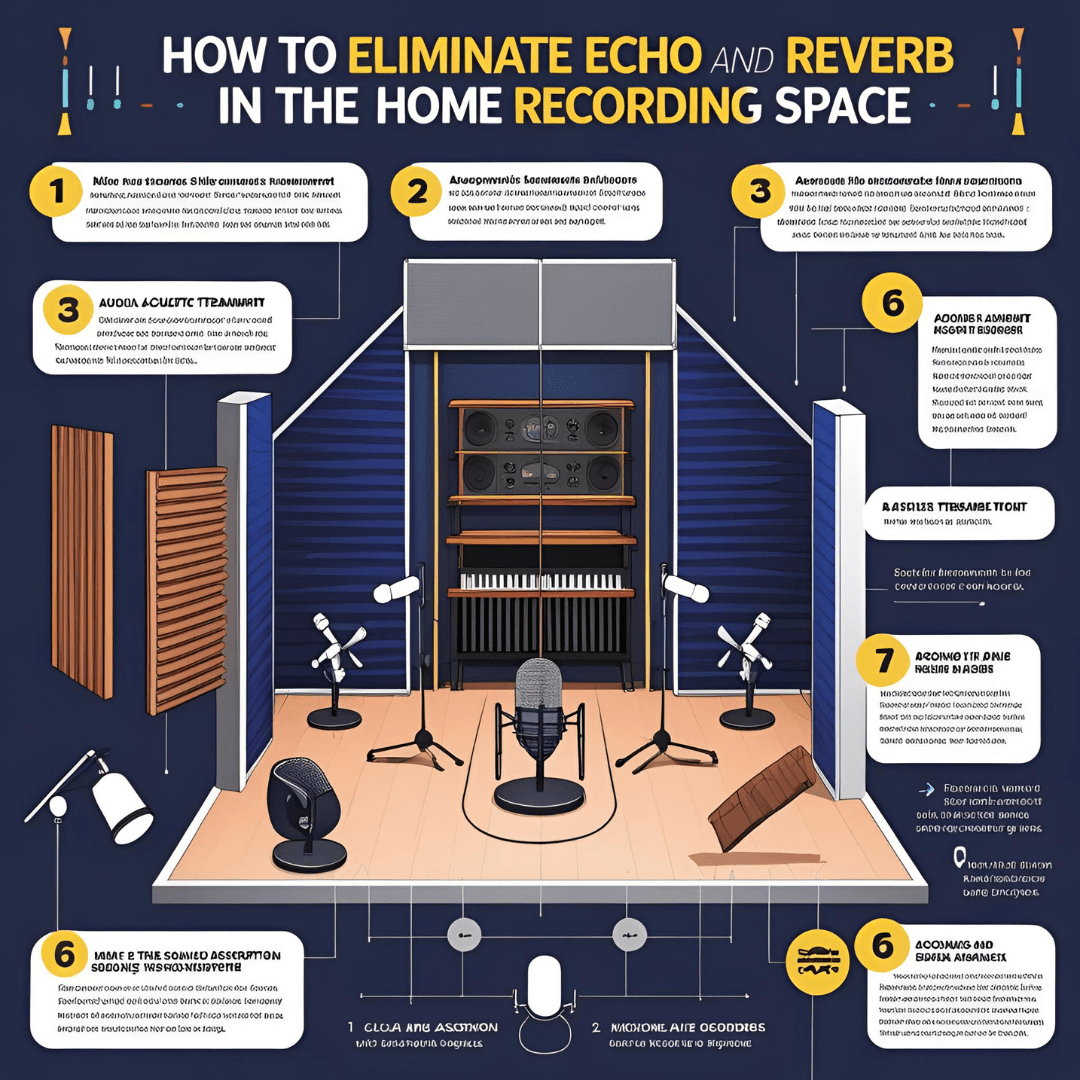
5. Step 2: DIY Acoustic Treatment Solutions
Treating your recording space doesn’t have to be expensive or complicated. Here are some simple, budget-friendly ways to reduce echo and reverb at home:
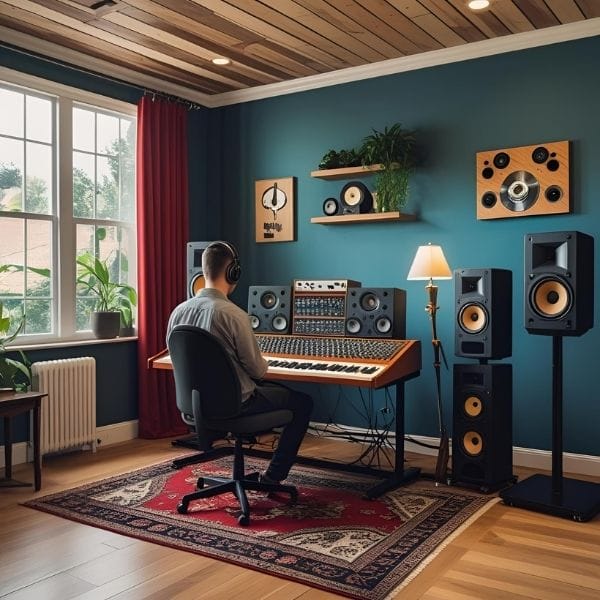
5.1 Use Heavy Curtains and Thick Blankets
Covering windows and bare walls with heavy curtains or thick blankets helps absorb sound waves instead of reflecting them. Hang curtains over windows and, if possible, tape blankets on walls near your recording area. This dampens reflections and reduces outside noise.
5.2 Add Rugs and Carpets
If you have hard floors like wood or tile, placing rugs or carpets can make a big difference. They absorb sound instead of letting it bounce off the floor, cutting down on echo and creating a warmer sound in your recordings.
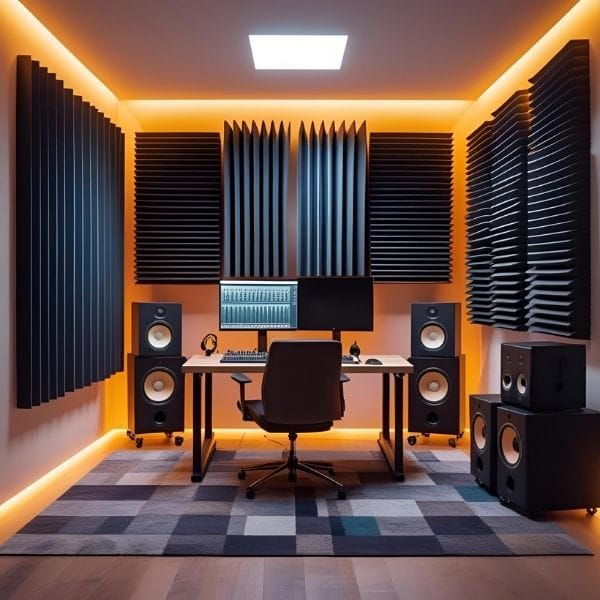
5.3 Build or Buy Foam Panels
Acoustic foam panels are designed to absorb sound reflections. You can buy affordable foam tiles online or even build your own using rigid foam covered with fabric. Place panels on the walls around your recording spot, especially where your clap test showed the strongest echoes.
5.4 Create a Closet Vocal Booth
If space allows, converting a small closet into a recording booth is a fantastic DIY option. Fill it with clothes, blankets, and foam panels to absorb sound. This creates a compact, sound-controlled environment that drastically reduces echo and reverb.
6. Step 3: Optimize Microphone Placement

Even with acoustic treatment, microphone positioning plays a crucial role in reducing echo and reverb.
🎙️ Position Your Microphone Away from Walls and Corners
Placing your microphone too close to walls or in tight corners can increase sound reflections.
Instead, set up your mic at least a few feet away from walls and avoid positioning it near hard, reflective surfaces.
🎤 Use Pop Filters and Isolation Shields
Pop filters help block plosive sounds, but using an isolation shield behind your microphone can significantly minimize room sound. It creates a barrier that absorbs reflections and focuses your voice directly into the microphone.
🔊 Record Closer to the Microphone
When you record closer to the mic (about 5-10 cm away), your voice becomes more prominent and direct, naturally reducing the pickup of room echo and background noise.
Just remember to adjust your mic’s gain to avoid distortion.
7. Step 4: Post-Production Fixes with Software

Even with good room treatment and microphone placement, some room sound might still remain. Fortunately, you can further improve your audio in post-production using simple editing techniques and free or affordable software.
🎛️ Use EQ to Clean Up Frequencies
Equalization (EQ) can help you cut out low-end rumble and reduce harsh, high frequencies that often emphasize room reflections. A high-pass filter is a great starting point to clean unnecessary low frequencies from voice recordings.
🚪 Apply Noise Gates to Minimize Room Noise
A noise gate automatically silences quiet background sounds when you’re not speaking. This helps remove room ambience between your words, tightening up your recording.
🎚️ Use Reverb Removal Tools for Final Polish
If you still hear some reverb, software like Adobe Audition’s DeReverb effect, iZotope RX’s Reverb Remover, or Audacity’s noise reduction tools (free) can help reduce it during editing.
While software can’t fully replace good recording conditions, it can significantly improve your final audio quality.
8. Final Tips for Better Home Recordings

Here are some final, practical tips to help you consistently achieve clean, professional-sounding audio at home:
🏠 Record in Smaller Rooms with Soft Materials
Large, empty rooms with hard surfaces amplify echo and reverb. Smaller spaces filled with soft materials—like curtains, furniture, clothes, and rugs—naturally reduce sound reflections and help you capture clearer audio.
🤫 Keep Background Noise to a Minimum
Turn off fans, air conditioners, and other noisy electronics while recording. Close windows and doors to block external sounds. The quieter your environment, the better your recordings will sound.
🎧 Always Monitor Your Recordings with Good Headphones
Using closed-back headphones while recording and editing lets you hear subtle background noise, room sound, and microphone issues you might otherwise miss. This helps you make quick adjustments and maintain audio quality throughout your process.
9. Conclusion
You don’t need a professional studio to achieve great audio at home. With simple adjustments, DIY acoustic treatments, and smart microphone placement, you can drastically improve your sound quality using affordable tools and materials.
Remember, you don’t have to fix everything at once. Start with small improvements—like adding a rug or repositioning your microphone—and build your setup step by step. Every change you make will bring you closer to the clean, professional audio your audience deserves.
Consistency and progress are what truly make the difference.
❓ FAQs: Common Questions About Home Acoustics and Recording Tips

🎤 What’s the easiest way to reduce echo in a room?
Start by adding soft materials like rugs, curtains, and blankets. These simple changes can significantly cut down reflections without major investment.
🧰 Do I need professional acoustic panels to improve my audio?
No. While professional panels help, you can achieve great results with DIY solutions like thick blankets, carpets, and homemade foam panels.
🎧 Is microphone placement really that important?
Yes. Poor mic positioning can increase echo and room noise. Recording closer to the microphone and placing it away from walls makes a noticeable difference in sound quality.
💻 Can I completely remove echo using software?
Software tools can reduce room echo, but they can’t fully replace good recording conditions. The best results come from a combination of room treatment and post-production.
🛑 Should I always record with doors and windows closed?
Yes. Closing windows and doors helps isolate your space from outside noise and reduces unwanted sound reflections.
🌐 Helpful Resources: Master Your Home Recordings
Ready to take your home audio to the next level? Explore these additional resources that complement your efforts to eliminate echo and reverb:

Helpful Resources: Master Your Home Recordings
Ready to take your home audio to the next level? Explore these additional resources that complement your efforts to eliminate echo and reverb:
📚 Internal Links: Keep Learning on Gear For Audio
- Best USB Microphones for Streaming and Podcasting
- Top Audio Accessories for Home Studios in 2025
- The 10 Best Noise-Cancelling Headphones of 2025: Your Guide to Silent Serenity
- Streaming Setup: Essential Audio Gear
🔗 External Links: Trusted Resources for Acoustic & Audio Tips
- Auralex DIY Acoustics Guide: For more in-depth information on acoustic treatment principles and products: Visit Auralex Acoustics
- Audacity Tutorials for Beginners: If you’re looking for free software to apply post-production fixes: Explore Audacity Tutorials
- Shure Microphone Setup Tips: Get expert advice on optimizing your microphone placement and usage: Check Shure’s Microphone Techniques

Pingback: Beyond Headphones: Best Audio Accessories To Upgrade Your Setup In 2025
Pingback: Best Audio Cleaning Kits & Accessories In 2025 | Keep Your Gear Pristine
Pingback: Best Affordable Audio Accessories That Transform Your Sound In 2025