1. Clean Audio Gear: The Unsung Hero of Audio Quality & Longevity
You love your audio gear. That feeling of crisp highs, punchy bass, and crystal-clear vocals – it’s why you invested in quality headphones, a great microphone, or powerful speakers. But what if we told you there’s a silent enemy constantly working to degrade that pristine sound and shorten the life of your beloved equipment? Dust, earwax, sweat, skin oils, and general grime accumulate stealthily, turning your audio sanctuary into a breeding ground for muffled sound and potential malfunction.

Many of us clean our screens and keyboards, but our audio gear often gets overlooked. This is a mistake, because proper, safe cleaning isn’t just about making your equipment look good; it’s absolutely crucial for maintaining sound quality, ensuring hygiene (especially for items in close contact with your body), and significantly extending the lifespan of your valuable investment.
This guide will walk you through essential, safe cleaning tips specifically tailored for the most common audio equipment: your headphones, microphones, and speakers. You’ll learn simple yet effective methods to keep your gear in top condition, ensuring you enjoy superior sound and healthy listening for years to come.
2. General Golden Rules for Safe Audio Gear Cleaning
Before we dive into cleaning specific types of audio equipment, let’s establish some universal principles. These golden rules apply across the board, ensuring you clean effectively without damaging your valuable gear.
Safety First: Always Power Off and Unplug
This is non-negotiable. Before you touch any cleaning solution or tool to your device:
- Turn off the device completely.
- Unplug it from its power source.
- Disconnect any cables (USB, XLR, audio jacks).
This prevents electrical shocks, short circuits, and accidental damage to delicate components.
Read the Manufacturer’s Manual
It might seem tedious, but your equipment’s manual is your best friend for cleaning. Manufacturers often include specific cleaning instructions, recommended solutions, or warnings about what to avoid for their particular materials and finishes. A quick check can save you from costly mistakes.
Use the Right Tools
Having the correct tools makes all the difference for a safe and thorough clean:
- Microfiber Cloths: These are your go-to for general dusting, wiping down surfaces, and polishing. They’re soft, non-abrasive, and great for capturing dust without scratching.
- Soft Brushes: Ideal for dislodging dust and debris from grilles, crevices, and hard-to-reach spots. An old, clean, soft-bristled toothbrush or a new, soft paintbrush works wonders.
- Cotton Swabs (Q-Tips): Perfect for precision cleaning in tight corners, small openings, and around buttons.
- Compressed Air (Use with Caution!): Great for blowing dust out of grilles and ports. However, hold the can upright and keep it at least 6-8 inches (15-20 cm) away from the component. Never spray directly into delicate areas like microphone capsules or speaker cones as the pressure can cause damage. Short, controlled bursts are key.
- Toothpicks or Non-Metal Probes (Use with Extreme Caution!): For stubborn grime or debris stuck in very small crevices (like charging ports or earbud nozzles), a toothpick or a plastic/wooden probe can be used very gently. Never use metal objects as they can scratch or short-circuit connections. Be incredibly careful not to push debris further in or puncture fragile membranes.
Use the Right Cleaning Solutions

What you clean with is as important as how you clean:
- Mild Soap & Water (Damp Cloth Only): For most external plastic, metal, or non-porous surfaces. Mix a tiny drop of mild dish soap with water. Always dampen a microfiber cloth with the solution first, then wring it out thoroughly until it’s barely damp. Never apply liquid directly to your gear.
- Isopropyl Alcohol (IPA – 70% or 99%): Excellent for disinfecting surfaces, especially ear pads, mic grilles, and cables, as it evaporates quickly. Apply it to a microfiber cloth or cotton swab, not directly to the device. Be cautious: high concentrations (99%) can be harsh on some plastics or rubber over time, and some materials like real leather should avoid IPA. Always test on an inconspicuous area first.
- Avoid Harsh Chemicals: Steer clear of aggressive cleaners like bleach, abrasive scrubs, harsh solvents (acetone, paint thinners), or household multi-surface sprays not designed for electronics. These can damage finishes, coatings, and internal components. And yes, never use WD-40 on electronic parts.
Avoid Excess Moisture
Moisture is the enemy of electronics.
- Apply to Cloth First: As mentioned, always spray or apply cleaning solutions to your cloth, not directly to the device.
- Wring Out Thoroughly: Ensure your cloth is only slightly damp, never dripping wet.
- Allow to Dry Completely: Before reconnecting power or turning on your device, ensure all components are completely dry. This might mean letting them air dry for several hours or even overnight, especially for parts that were washed (like mic grilles or ear tips). Patience prevents irreparable damage.
By adhering to these fundamental rules, you’ll provide a solid foundation for safe and effective cleaning, protecting your precious audio investment.
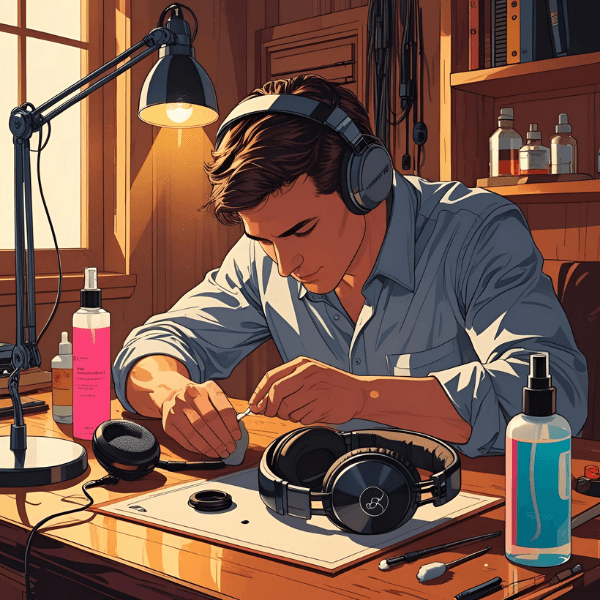
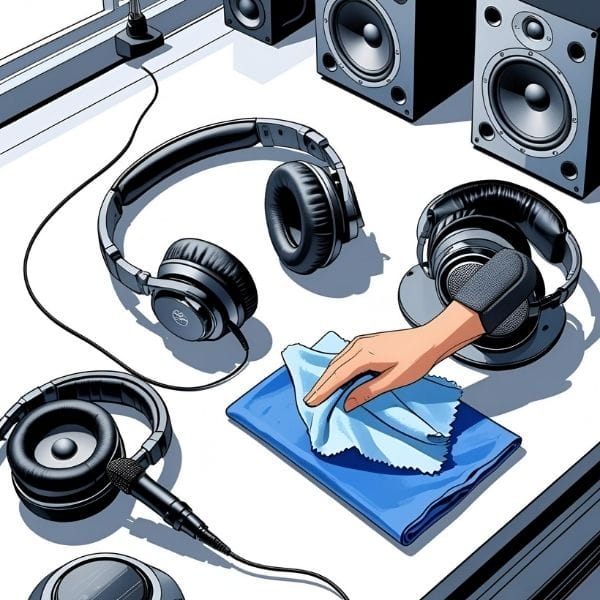
3. Cleaning Your Headphones Safely
Headphones are arguably our most personal piece of audio gear. They go everywhere with us, endure sweat, skin oils, and earwax, and are constantly exposed to dust. Regular, safe cleaning is crucial for hygiene, sound quality, and their lifespan.
Over-Ear & On-Ear Headphones
These larger headphones require specific attention to their various components:
- Ear Pads & Headband: These areas collect the most sweat and skin oils.
- Material-Specific Care:
- Leatherette/Protein Leather: For synthetic leather, gently wipe with a damp microfiber cloth using a tiny amount of mild dish soap diluted in water. Afterward, wipe again with a clean, slightly damp cloth to remove any soap residue, then dry with a clean, soft cloth.
- Velour/Fabric: Use a soft brush (like a clean, soft toothbrush or a dedicated detailing brush) to gently brush away dust and debris. For deeper cleaning, a small handheld vacuum with a brush attachment can be used cautiously. Avoid getting these materials very wet.
- Real Leather: Use specialized leather cleaners or conditioners designed for delicate leather goods. Always test on an inconspicuous area first. Avoid harsh chemicals or excessive moisture.
- Disinfecting: For hygiene, especially if sharing, gently wipe ear pads and headbands with an isopropyl alcohol (IPA) wipe or a microfiber cloth lightly dampened with 70% IPA. IPA evaporates quickly and disinfects.
- Material-Specific Care:
- Grilles/Drivers: The grilles protect the delicate drivers (the part that makes sound).
- Dusting: Use a soft brush to gently sweep dust and debris off the grilles.
- Crucial Warning: Never apply liquid directly to the drivers or speaker grilles, as moisture can easily damage the internal components.
- Cables & Connectors:
- Wipe cables with a damp cloth (mild soap and water solution, wrung out well) to remove grime.
- If connectors (e.g., 3.5mm jack, USB-C) look dirty, you can carefully clean them with a cotton swab lightly dampened with IPA. Ensure they are completely dry before reconnecting.
In-Ear Monitors (IEMs) & Earbuds
These tiny devices are particularly prone to earwax and debris buildup due to their direct contact with the ear canal.
- Ear Tips (Silicone/Foam):
- Silicone Tips: Most silicone ear tips are removable and can be washed with mild soap and warm water. Rinse them thoroughly and let them air dry completely before reattaching to the earbuds.
- Foam Tips: Check the manufacturer’s guidelines. Some can be gently wiped with an IPA wipe, but most foam tips are more delicate and should not be washed with water. They often need to be replaced periodically as they degrade.
- Nozzle/Grille: This is where earwax loves to accumulate.
- Use a small, soft brush (like a dedicated earbud cleaning tool or a clean, soft toothbrush) or a toothpick to very gently scrape/brush away earwax and debris from the nozzle mesh/grille.
- Extreme Caution: Be incredibly careful not to push debris further into the nozzle or to puncture the delicate mesh that protects the drivers. Never use sharp metal objects.
- Earbud Body & Charging Case:
- Wipe down the body of the earbuds and the inside/outside of the charging case with a damp microfiber cloth (mild soap solution) or an IPA wipe.
- Clean the charging contacts (the small metal pins on the earbuds and inside the case) with a dry cotton swab to remove any buildup that might hinder charging.
Regularly cleaning your headphones will not only keep them looking good but will also ensure optimal sound performance and prevent hygienic issues, especially for devices that sit directly in or on your ears.
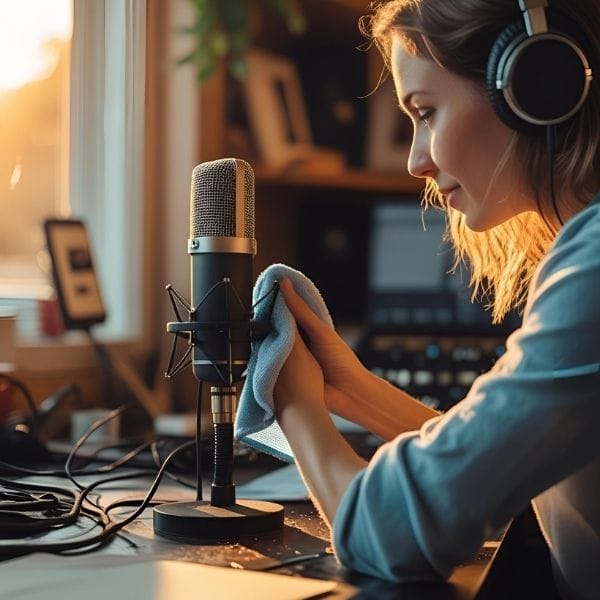
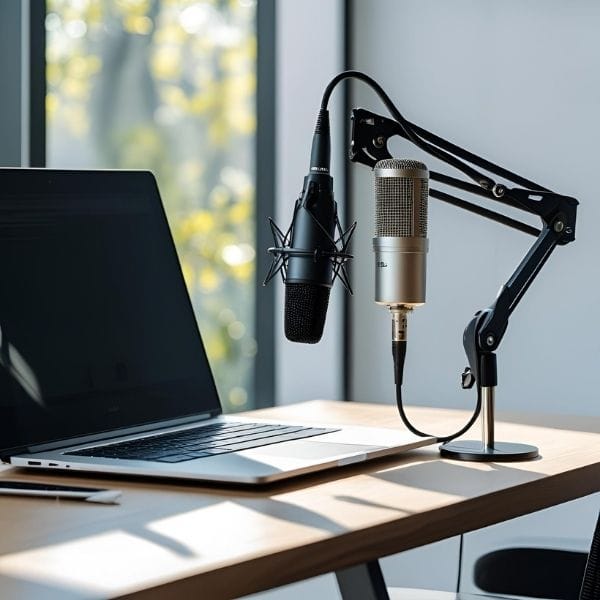
4. Cleaning Your Microphones Safely
Microphones, especially those used for vocals, are often in direct contact with mouths, breath, and saliva. This makes hygiene absolutely critical, not only for cleanliness but also for maintaining the microphone’s sensitive internal components.
Detachable Grilles
Many microphones, particularly dynamic vocal mics, have detachable grilles that cover the sensitive capsule. This is where most of the griminess collects.
- Removal: Carefully unscrew or gently twist and pull off the microphone’s grille. Inside, you’ll often find a foam filter.
- Washing Grille & Foam Filter: Once removed, the metal grille and its internal foam filter (if detachable) can be washed separately. Use warm water and a small amount of mild dish soap. Gently scrub the grille with an old, soft toothbrush to dislodge any accumulated debris. Squeeze out excess water from the foam filter.
- Drying: This step is crucial. Allow both the grille and the foam filter to air dry completely for at least 24 hours, or even overnight, before reassembling. Any residual moisture can lead to mold growth in the foam or, worse, corrosion and damage to the microphone’s electronics.
- Disinfecting Grille: After cleaning, you can further disinfect the metal grille by wiping it down with a disinfectant wipe or a cloth lightly dampened with 70% isopropyl alcohol (IPA). Ensure it dries before reassembly.
Microphone Body
The body of the microphone (the handle) is less sensitive but still collects grime from hands.
- Wipe down the microphone body with a soft, slightly damp cloth (using mild soap and water solution, wrung out thoroughly) or an IPA wipe.
- Extreme Caution with Capsule/Element: This is perhaps the most critical warning for microphone cleaning: NEVER apply liquids, spray cleaning solutions, or blow compressed air directly into the microphone capsule or the sensitive element behind the grille. These components are incredibly delicate and highly susceptible to moisture, pressure, and chemical damage, which can permanently ruin the microphone’s sound quality or render it unusable.
Windshields/Pop Filters (External)
If you use external foam windshields (those foam balls that fit over the mic) or pop filters (the round screens on stands), these should also be cleaned regularly.
- Wash these accessories with warm water and mild soap, rinsing thoroughly.
- Allow them to air dry completely before putting them back on the microphone or storing them. This prevents moisture buildup and potential mold or odor.
By taking these careful steps, you’ll ensure your microphones remain hygienic, perform optimally, and serve you well for many years.
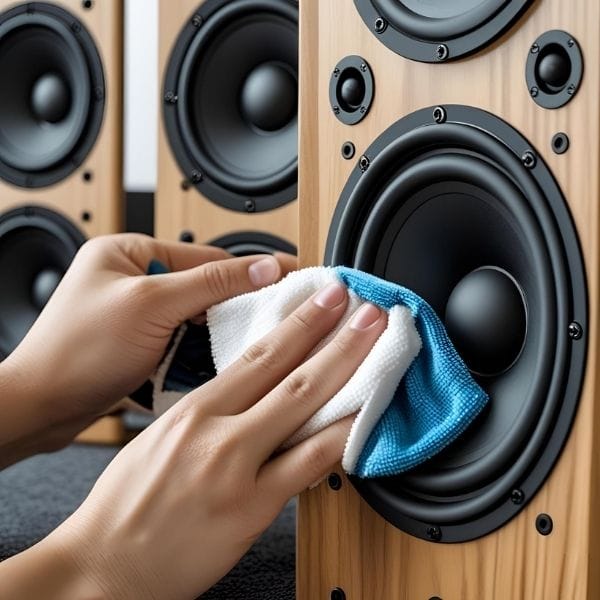
5. Cleaning Your Speakers Safely
Speakers, from compact Bluetooth units to large studio monitors, are often magnets for dust and grime, which can subtly degrade their performance and appearance. Knowing how to clean speakers safely requires understanding their various components and materials.
Cabinets and Exteriors
The outer casing of your speakers requires gentle care to maintain its finish.
- Dusting: For general dust, a soft, dry microfiber cloth is your best friend. Wipe surfaces regularly to prevent buildup.
- Material-Specific Cleaning:
- Wood Veneer/Laminate: For wooden or laminated surfaces, use a soft, slightly damp cloth (with mild soap and water, thoroughly wrung out). For deeper cleans or to restore shine, specialized wood cleaners or polishes designed for furniture can be appropriate, but always test on an inconspicuous area first.
- Plastic/Metal: These surfaces can usually be wiped down with a damp microfiber cloth using a solution of mild soap and water. Ensure the cloth is only damp, not wet.
- High-Gloss/Piano Black: These finishes are beautiful but scratch easily. Use an extremely soft microfiber cloth (like those used for eyeglasses) and a dedicated screen cleaner or plain water (applied to the cloth) to avoid scratches and smudges. Avoid dry wiping, which can drag dust and cause micro-scratches.
Grilles (Fabric and Metal)
Speaker grilles protect the drivers but can accumulate significant dust and debris.
- Removable Fabric Grilles: If your speaker grilles are removable, gently take them off. You can often gently vacuum them using a brush attachment on a low setting. Some manufacturers might allow for careful hand-washing with mild soap and water; if so, ensure they are completely air-dried before reattaching to prevent mold or damage to the speaker.
- Non-Removable Fabric Grilles: For grilles that cannot be removed, use a gentle vacuum cleaner with a brush attachment to carefully suck up dust and debris.
- Metal Grilles: Wipe these with a damp microfiber cloth. For dust caught in the perforations, a soft brush (like an old toothbrush) can help clear the crevices.
Drivers (Cones and Tweeters)
The speaker cones (woofers, mid-ranges) and tweeters are the most delicate parts and require extreme caution.
- Extreme Caution: NEVER touch the speaker cones or tweeters with your fingers or any harsh tools. They are incredibly fragile and even a light touch can cause irreparable damage to their delicate materials and suspension, affecting sound quality.
- Dusting: The safest way to remove dust from drivers is by using a very soft brush (such as a new, clean paintbrush with fine bristles) to gently sweep away dust. Alternatively, use gentle puffs of compressed air from a distance (at least 6-8 inches away) to blow dust off. Avoid aggressive spraying.
Ports and Vents
Many speakers have ports (usually circular openings) or vents that help with bass response.
- Use compressed air or a soft brush to clear any accumulated dust, cobwebs, or debris from these openings. Keeping them clear ensures proper airflow and optimal bass performance.
By following these specific guidelines, you’ll ensure your speakers not only look great but continue to deliver the crystal-clear audio you expect for years to come.
6. A Clean Setup, A Clear Sound
In the pursuit of perfect audio, it’s easy to overlook the simple yet profound impact of cleanliness. As we’ve explored, regular and safe cleaning of your audio gear is not merely about aesthetics; it’s a fundamental practice that extends the lifespan of your valuable equipment, meticulously maintains sound fidelity, and significantly improves hygiene, especially for devices in close contact with you.
By integrating these practical tips for headphones, microphones, and speakers into your routine, you’re not just wiping away dust; you’re actively preserving the intricate components that bring your favorite sounds to life. Make safe audio equipment maintenance a regular habit, just as you would any other valuable possession.
Treat your gear right, and it will reward you with years of pristine performance.
Further Resources: Keeping Your Audio Gear Pristine
Ready to master the art of audio equipment maintenance? Explore these additional resources to ensure your gear stays clean, performs optimally, and lasts longer:
📚 Internal Links: More from Gear For Audio
- The 10 Best Noise-Cancelling Headphones of 2025
- Complete Guide to Choosing Bluetooth Earbuds
- Best USB Microphones for Streaming and Podcasting
- Top Audio Accessories for Home Studios in 2025
- Audio Cables and Adapters Guide
🔗 External Links: Expert Advice on Electronics Cleaning
- Shure Microphones – Cleaning Your Microphone: Specific guidance from a leading microphone manufacturer on maintaining their products: Learn from Shure
- Rode Microphones – Microphone Care & Maintenance: Rode’s official tips for keeping your condenser and dynamic mics in top shape: Learn from Rode
- How to Clean Your Electronics Safely (CNET): A general guide for cleaning various electronic devices, offering broad best practices: Read CNET’s Guide

qq6o73
Pingback: Best Audio Cleaning Kits & Accessories In 2025 | Keep Your Gear Pristine
Pingback: Get The Best Sound From Your Bluetooth Speaker: 7 Pro Tips For 2025
Pingback: Ultimate Must-Have Audio Accessories For Audiophiles 2025: Elevate Your Sound (2025)